

This guide will walk you through the steps to connect Hashboard with your ClickHouse instance. This information is also available on Hashboard’s ClickHouse integration documentation.
Pre-requisites
- A ClickHouse database either hosted on your own infrastructure or on ClickHouse Cloud.
- A Hashboard account and project.
Steps to connect Hashboard to ClickHouse
1
Gather your connection details
To connect to ClickHouse with native TCP you need this information: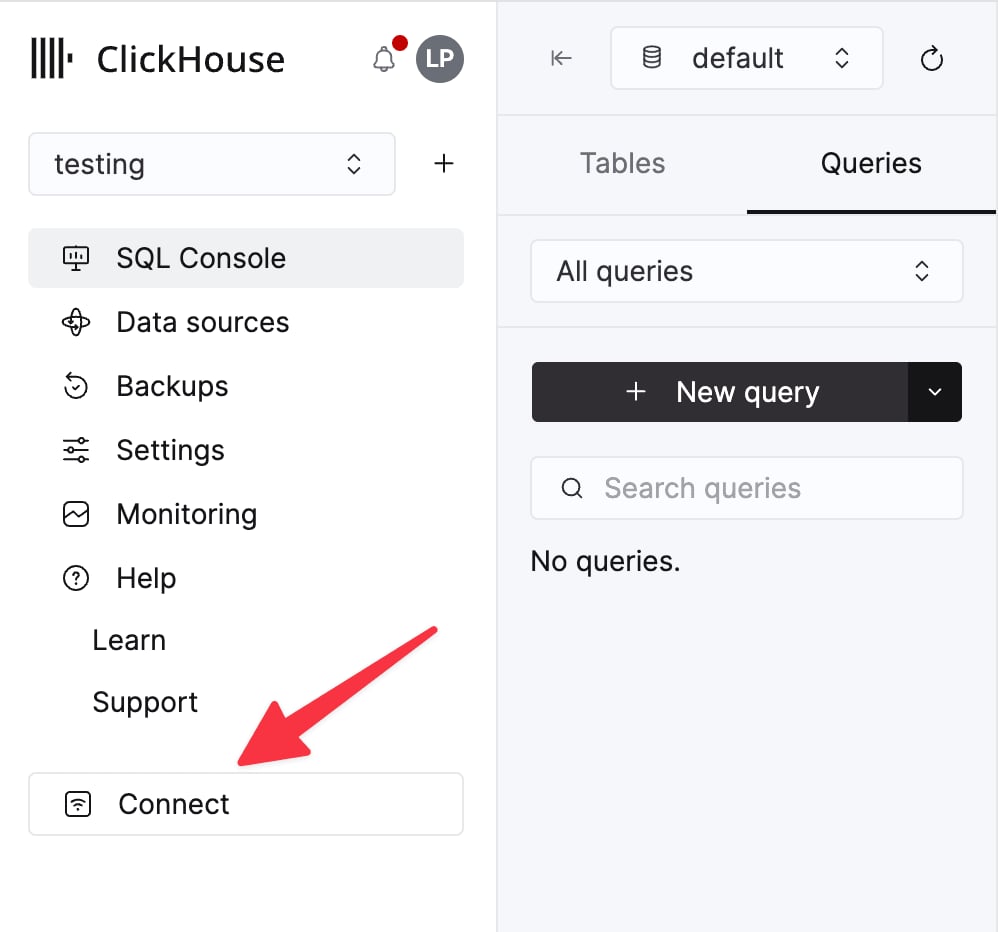
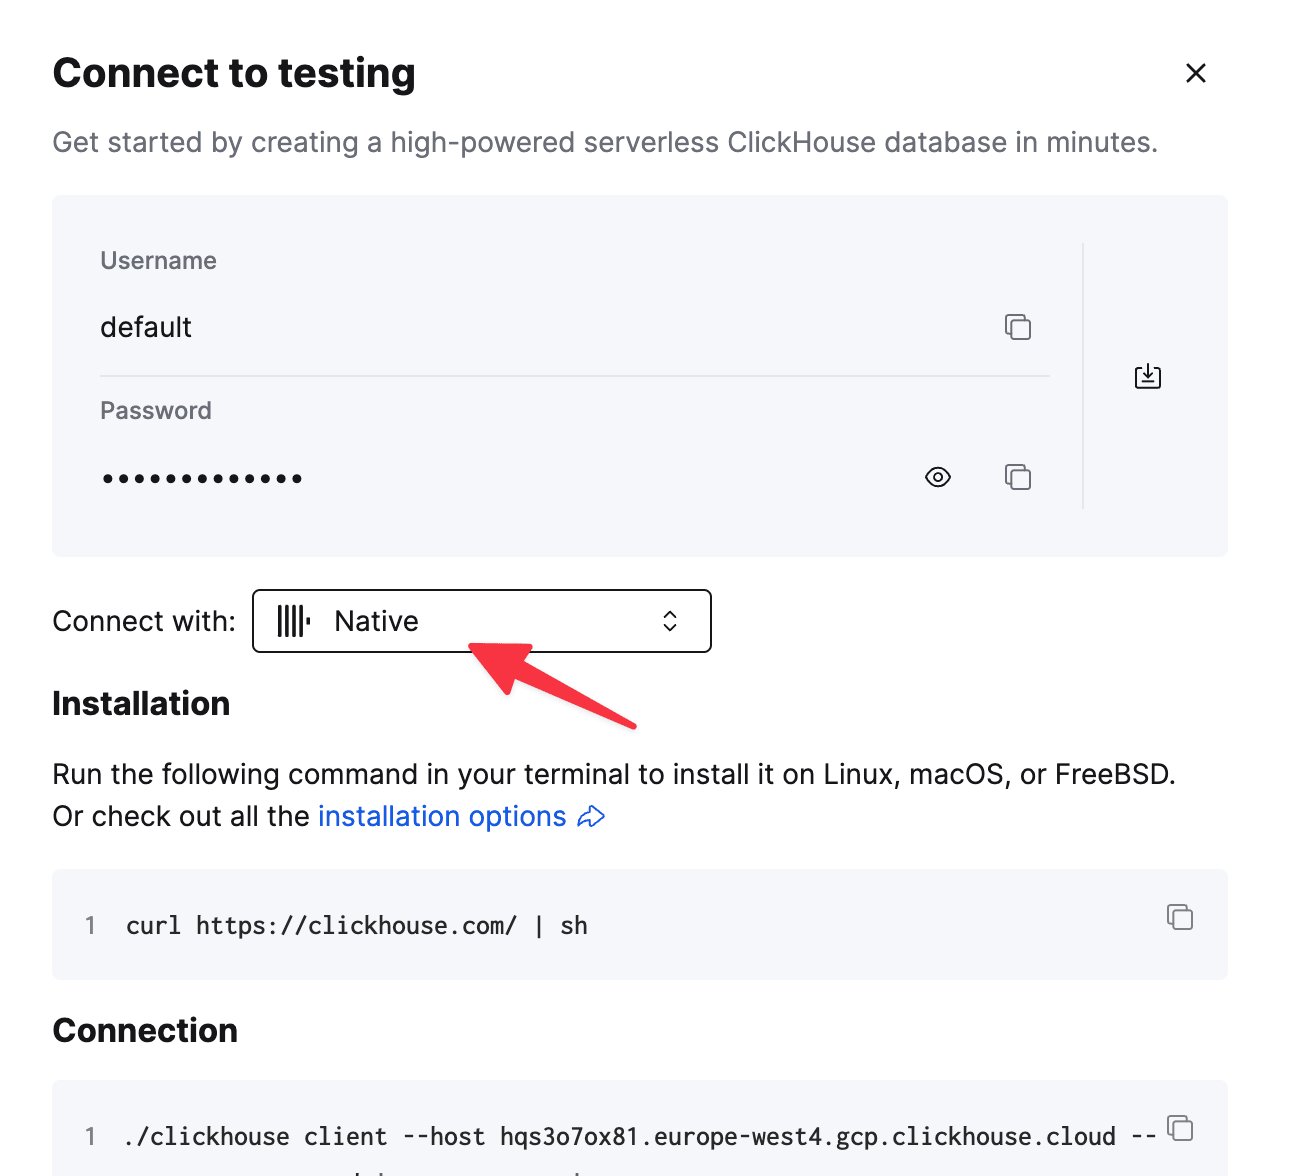
The details for your ClickHouse Cloud service are available in the ClickHouse Cloud console.
Select the service that you will connect to and click Connect:
clickhouse-client command.2
Add a new database connection in Hashboard
- Navigate to your Hashboard project.
- Open the Settings page by clicking the gear icon in the side navigation bar.
- Click
+ New Database Connection. - In the modal, select “ClickHouse.”
- Fill in the Connection Name, Host, Port, Username, Password, and Database fields with the information gathered earlier.
- Click “Test” to validate that the connection is configured successfully.
- Click “Add”